by Flinn Inspections
Share
by Flinn Inspections
Share
A signed purchase agreement starts the clock. In a competitive Central Ohio market, buyers can feel pressure to move quickly, but the Ohio home inspection timeline is one of the few built-in opportunities to understand what they are buying before the deal becomes final. Use it well. A thorough inspection can identify safety concerns, major system issues, moisture conditions, and expensive maintenance needs while there is still time to make an informed decision.
The exact dates depend on the purchase contract, the seller’s response, lender requirements, and the availability of specialty testing. What does not change is the need for a clear plan: schedule promptly, attend when possible, read the report carefully, and make contingency decisions before your deadline expires.
The Ohio Home Inspection Timeline After an Accepted Offer
Day 0: Review the contract and your inspection contingency
Once an offer is accepted, review the contract with your real estate agent. The inspection contingency should identify how long you have to complete inspections and deliver any formal notice to the seller. There is no single statewide number of inspection days required for every Ohio transaction. Many buyers have roughly seven to 10 days, but the period is negotiable and may be shorter in a fast-moving market.
Do not confuse the day of the inspection with the end of the contingency period. You need enough time not only to inspect the property, but also to receive results from specialized tests, discuss findings, collect estimates if needed, and decide how to respond. A short contingency may work for a newer, straightforward home. An older property, a rural home with a well and septic system, or a home with visible drainage concerns often needs a wider window.
Before scheduling, confirm what is included in the standard inspection and which additional services make sense for the property. A full home inspection evaluates readily accessible structural components and major systems, but it is not a substitute for a sewer scope, radon test, termite inspection, mold evaluation, or water-quality analysis when those services are warranted.
Days 1-3: Schedule the inspection and related testing
Schedule as early as possible after acceptance. Early scheduling protects your options if the inspection reveals a condition that needs further evaluation by a licensed contractor or specialist. It also avoids a last-minute rush when several decisions must be made before the contingency deadline.
For most homes, the primary inspection takes about two to four hours, depending on the home’s size, age, condition, and accessible features. Buyers and agents are welcome to attend. Walking through the home with the inspector creates a better understanding of priority issues than a report alone can provide. You can ask questions about shutoffs, electrical panels, HVAC filters, grading, attic conditions, and routine maintenance while you are standing in front of the component.
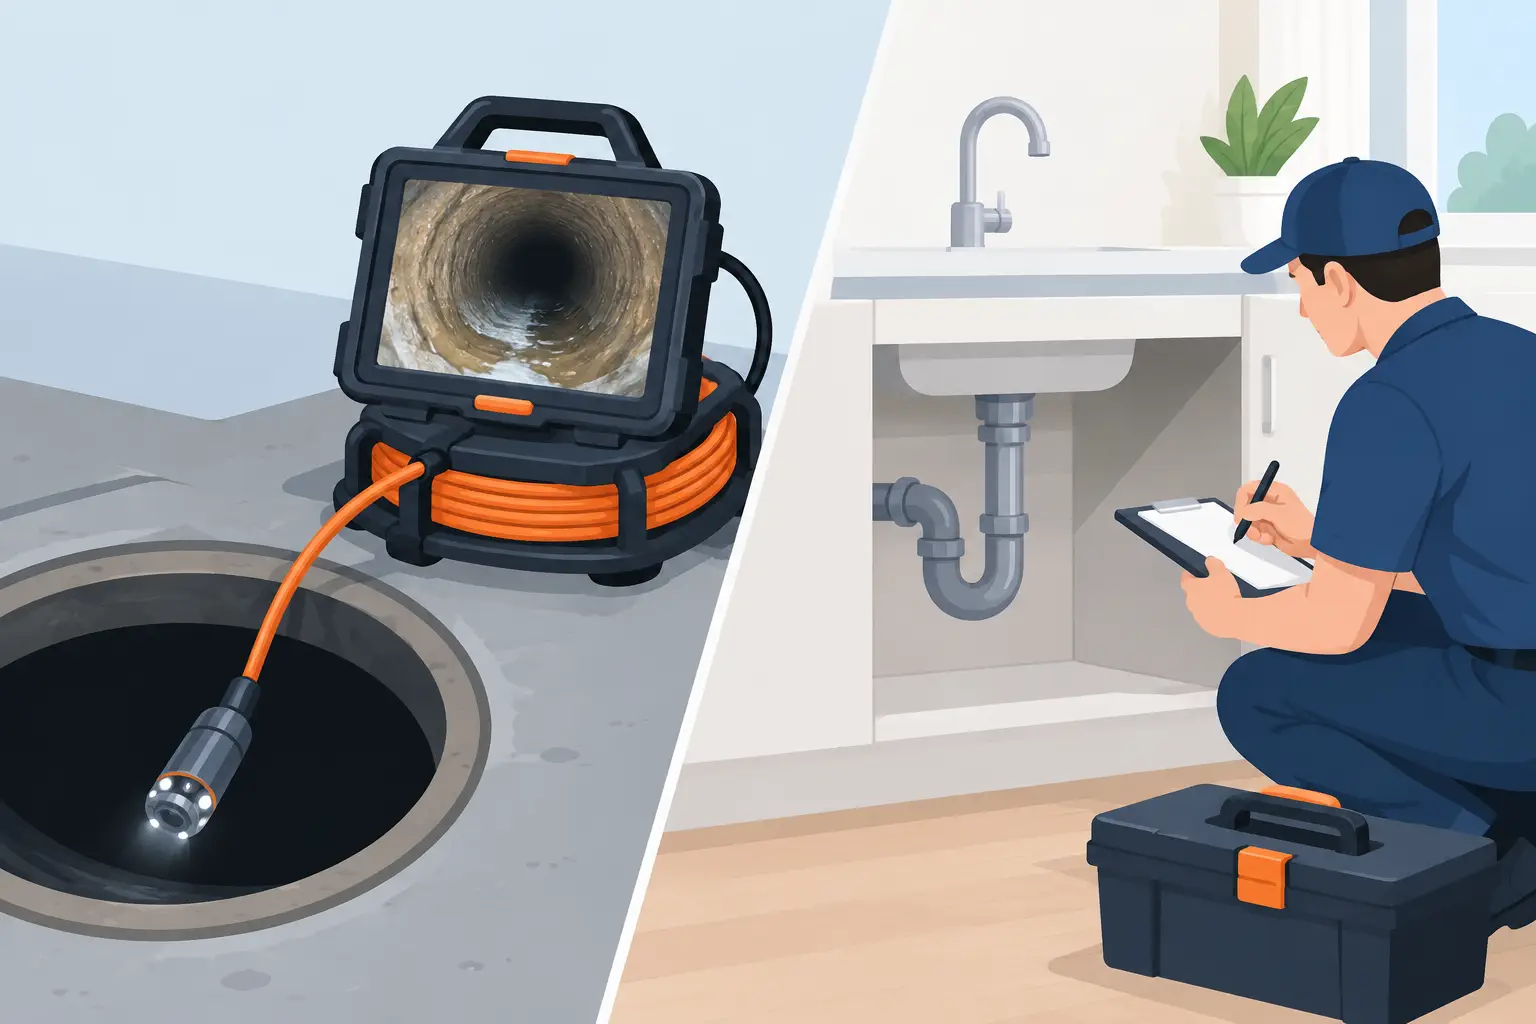
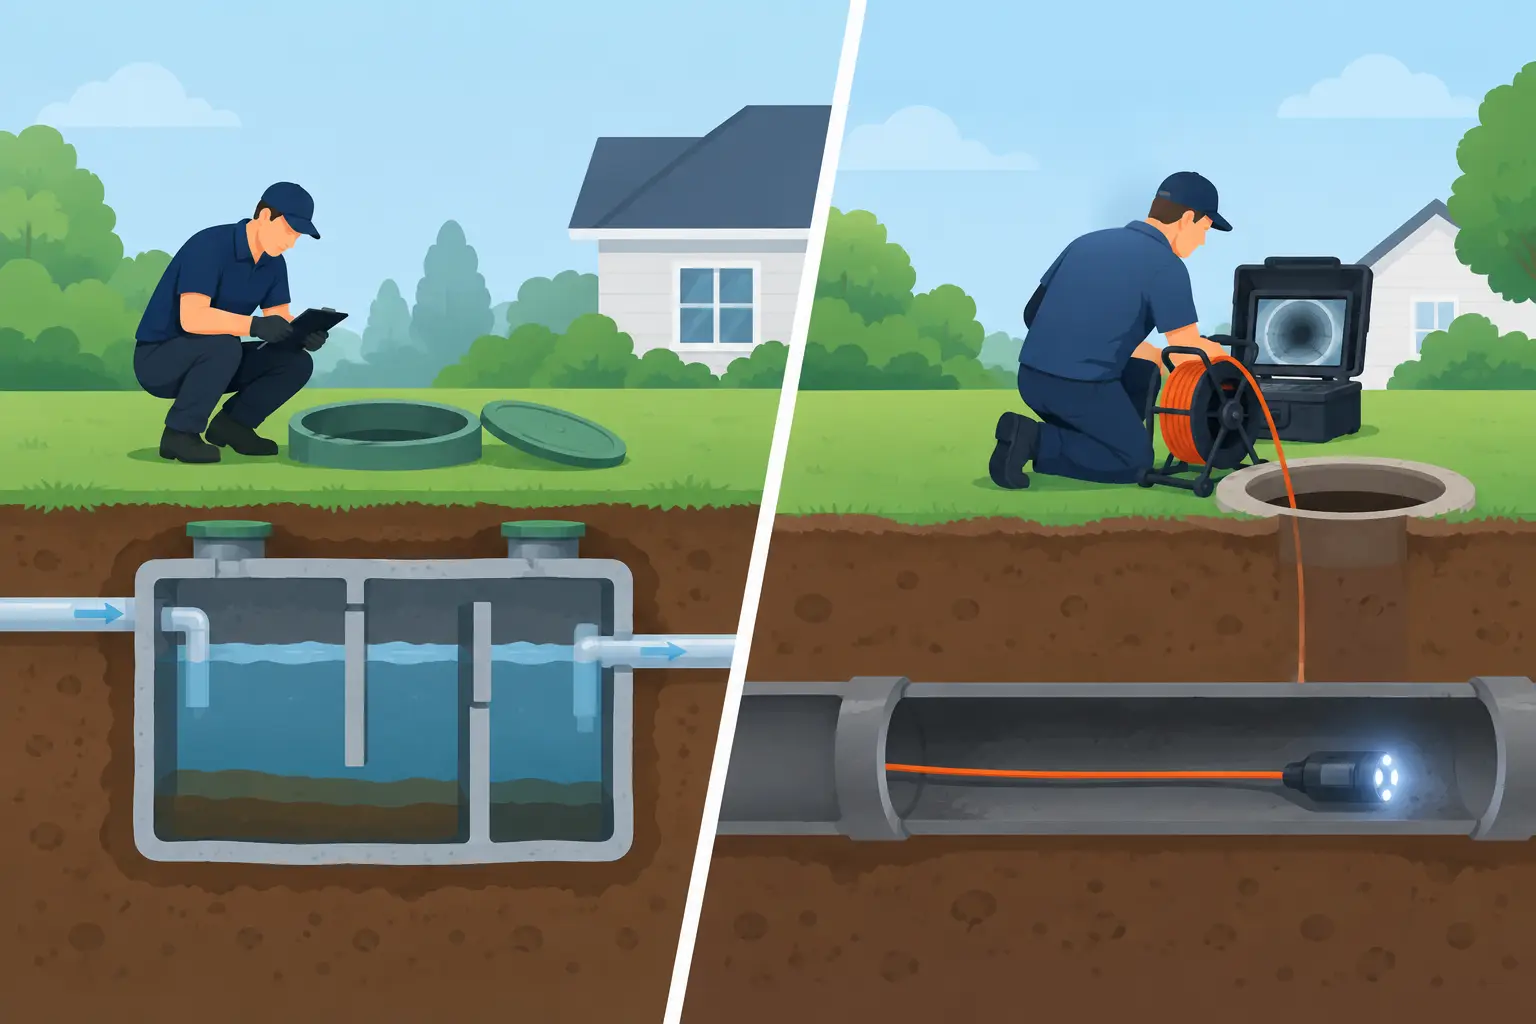
This is also the right time to coordinate add-on services. In Central Ohio, radon testing is often a practical consideration because elevated levels can occur in any neighborhood and in homes of any age. A continuous radon test typically requires a minimum 48-hour testing period, plus time to review the results. Sewer camera scopes can be especially valuable for older homes, properties with mature trees, or homes with questionable drainage history. Termite inspections, well-water testing, septic evaluations, pool inspections, and fireplace inspections should be arranged early when applicable.
What Happens During the Inspection
A professional inspection is a fact-finding process, not a pass-or-fail grade. Homes have defects, maintenance needs, and aging components. The question is whether those conditions create a safety concern, require significant investment, affect your plans for the property, or need resolution before closing.
A comprehensive inspection generally evaluates the roof, exterior, foundation, structure, interior, electrical system, plumbing, heating and cooling, insulation, ventilation, and built-in appliances. Advanced diagnostic tools can add meaningful context. Thermal imaging may help identify temperature anomalies associated with insulation gaps, moisture patterns, or electrical concerns. Gas leak detection can help identify a hazard that is not obvious during a visual review.
Inspectors report conditions that are visible and accessible on the day of the inspection. They cannot see behind finished walls, predict the exact remaining life of every component, or guarantee that a system will never fail. That limitation is not a weakness. It is why the report should clearly separate observed conditions, recommended actions, and items that merit further review by a qualified professional.
The same day: Review your inspection report
A same-day report keeps the Ohio home inspection timeline moving. You should expect clear descriptions, photographs, and recommendations that help you distinguish between immediate safety issues, major repairs, and normal homeowner maintenance.
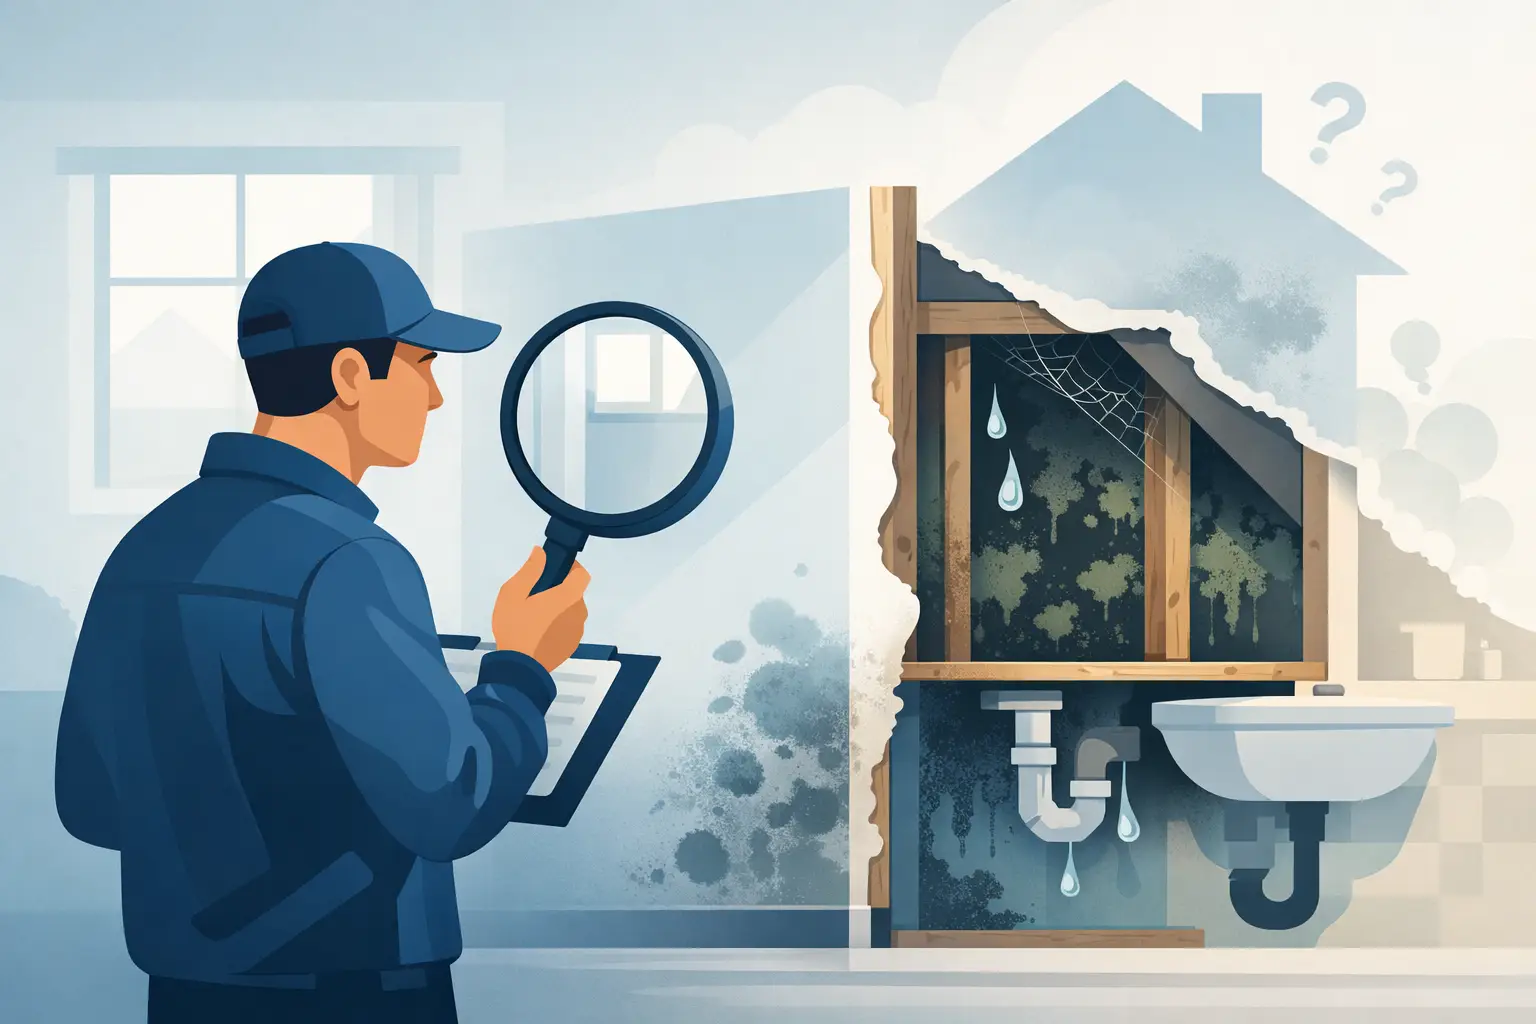
Read the entire report, not just the summary. A summary makes it easier to prioritize, but details in the full report explain where a condition was found and why it matters. Pay particular attention to active water intrusion, foundation movement, unsafe electrical conditions, damaged roofing, HVAC performance issues, plumbing leaks, improper combustion venting, and evidence of wood-destroying insects.
Avoid treating every noted item as a negotiation demand. A home inspection report can be extensive even in a well-maintained property. Loose outlets, worn caulk, missing screens, aging fixtures, and minor grading adjustments may be worth addressing after closing. Focus your immediate attention on conditions that materially affect safety, function, cost, or insurability.
Days 3-6: Get answers before making requests
If the report identifies a potentially costly or complex issue, your next step may be additional evaluation. For example, evidence of foundation cracking may justify review by a structural professional. An older electrical panel or damaged wiring may require input from a licensed electrician. A sewer scope showing root intrusion or a collapsed line may require a plumbing contractor’s estimate.
This stage involves a trade-off. More information can protect you from a poorly understood expense, but every extra appointment consumes time. Work backward from your contingency deadline. Ask your agent how notice must be delivered and whether an extension is realistic if specialty results or contractor availability are delayed.
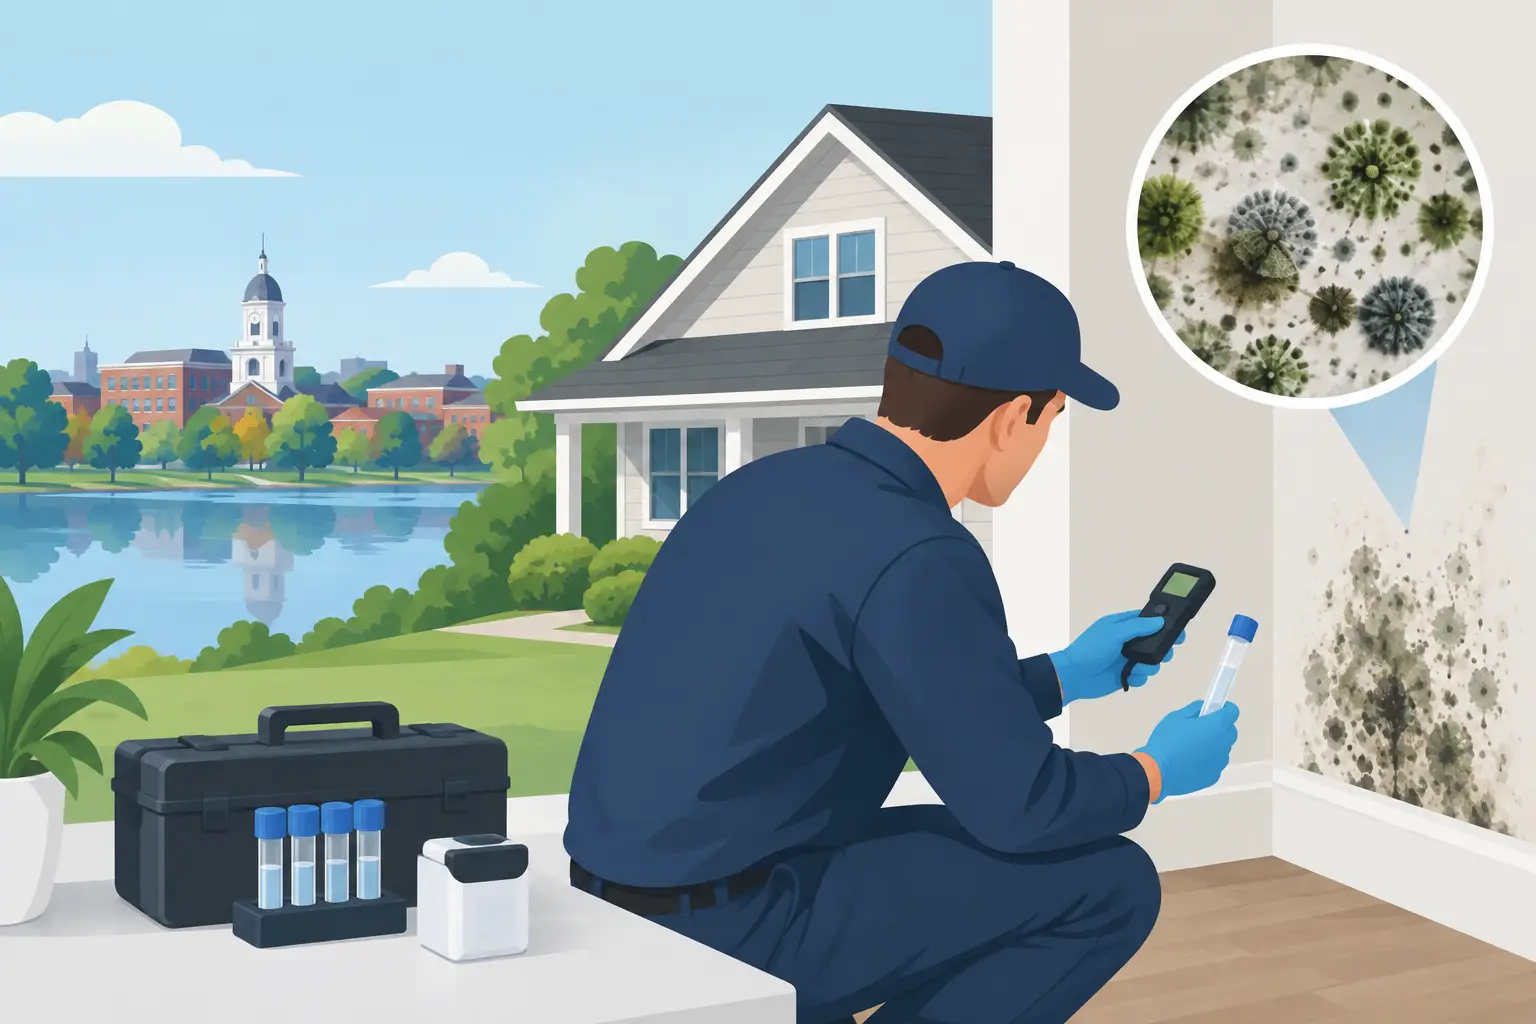
Radon results, lab-based water tests, septic findings, and mold or air-quality testing may not arrive on the same schedule as the main inspection report. Do not assume all results will be ready overnight. Build those turnaround times into your decision-making process from the beginning.
Days 5-8: Decide how to proceed
After reviewing the inspection findings, buyers generally have several paths available under the terms of their contract. They may proceed without requesting changes, request repairs or a credit, renegotiate a specific concern, or terminate the agreement within the inspection contingency if the contract allows.
The best request is focused and supported by the inspection evidence. Asking a seller to correct an active leak, address an unsafe electrical defect, or provide a credit for a failed major component is different from requesting a long list of cosmetic updates. Sellers are more likely to engage productively when requests are reasonable, specific, and tied to meaningful property conditions.
Sometimes a seller will agree to complete repairs before closing. Other times, a credit or price adjustment is cleaner, especially when you want control over the contractor and repair quality. A credit can be useful, but confirm how it interacts with your loan type and lender rules. Not every buyer can receive the same form or amount of closing credit.
Before Closing: Verify, document, and prepare
If the seller agrees to repairs, keep the documentation. Receipts, invoices, permits, and contractor information can matter later. Before closing, use the final walk-through to confirm that the property is in the agreed condition and that negotiated repairs appear complete. A walk-through is not a second full inspection, but it is your chance to identify an obvious unfinished repair, new damage, or a missing included item.
If a significant repair was completed, consider whether a reinspection is appropriate. This is especially valuable for roof repairs, electrical corrections, structural work, plumbing repairs, or conditions that were not easily verified during a brief walk-through. Verification is a small step compared with the cost of discovering that a promised repair was incomplete.
The inspection process also gives new owners a maintenance roadmap. Save the report after closing. It can help you prioritize projects, understand the age and condition of major systems, and plan for future repairs rather than being surprised by them.
A purchase deadline should never force you to guess about a major investment. Schedule the inspection early, allow room for the tests the property actually needs, and use the results to make a decision you can stand behind. Flinn Inspection Group is built around that standard: every square foot inspected with the clarity and accountability buyers need before closing.