by Flinn Inspection Group
Share
by Flinn Inspection Group
Share
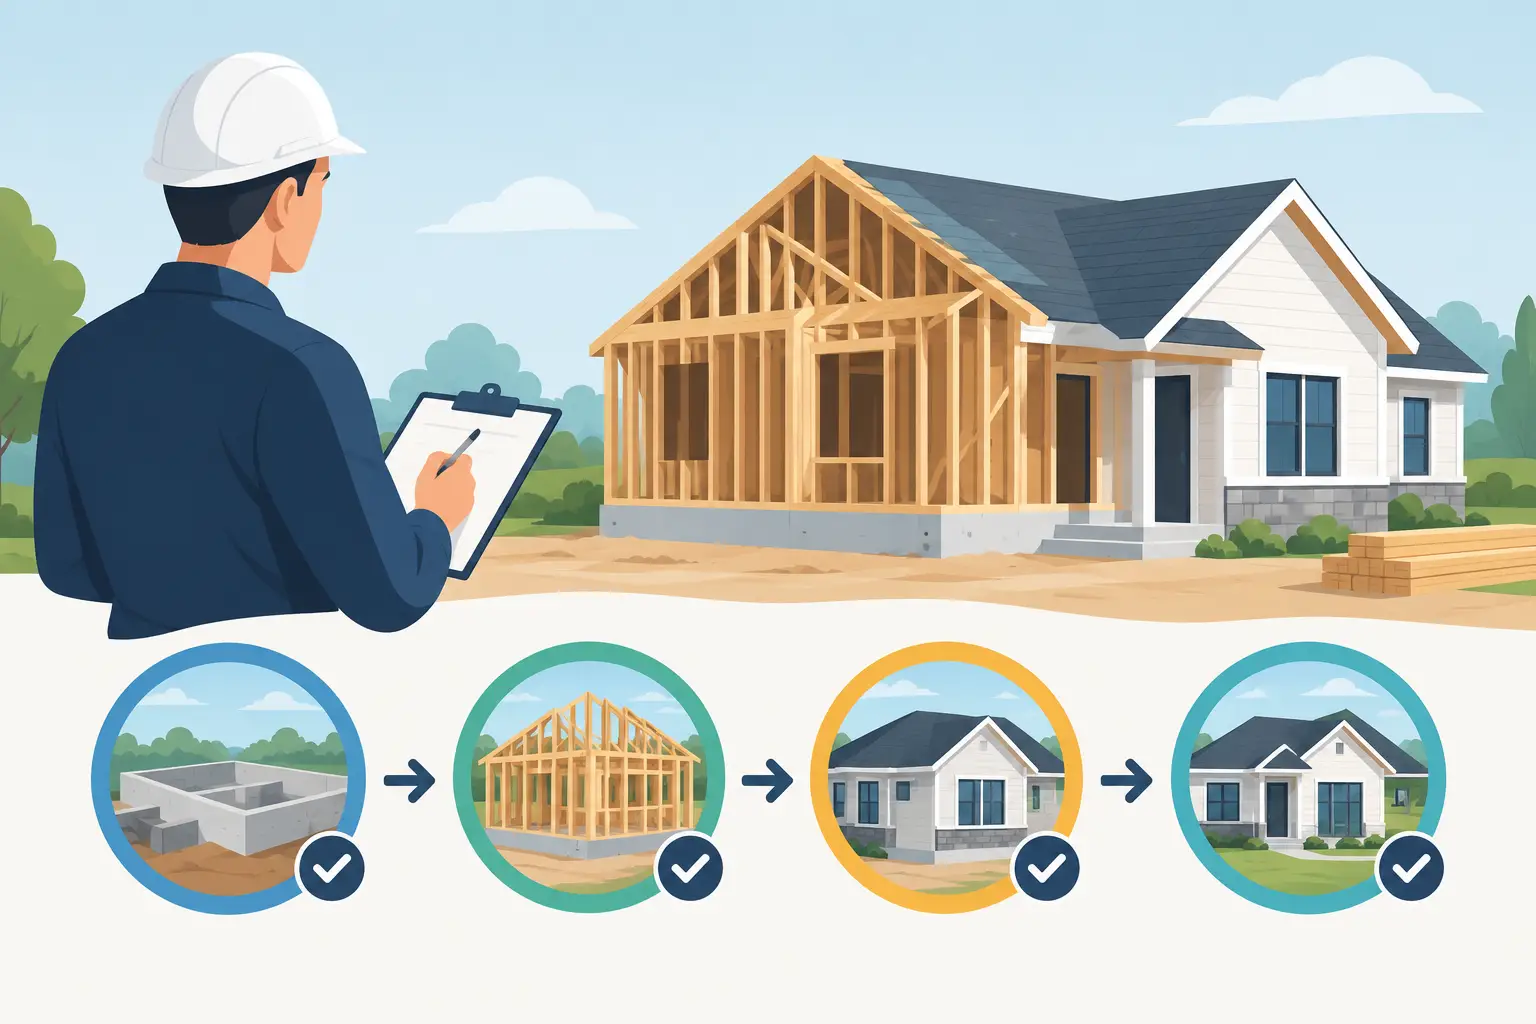
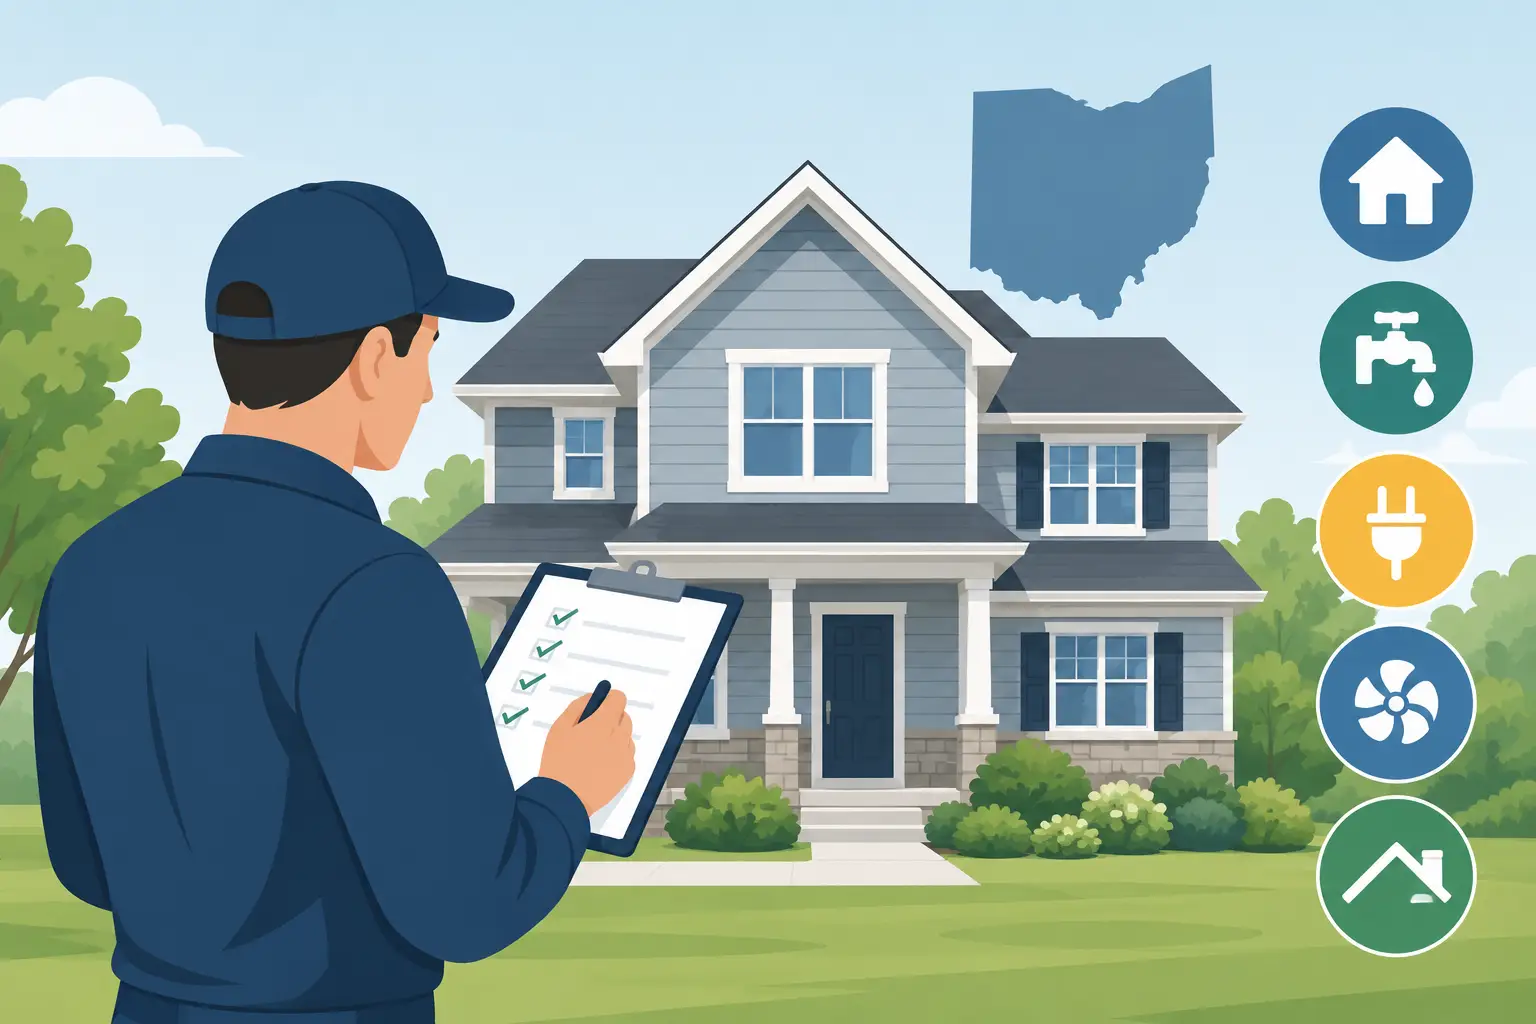
A new home can look finished long before its critical work is visible. Once drywall, flooring, insulation, and cabinetry are in place, many installation details are hidden for good. Knowing how to plan phased inspections gives you independent checkpoints while the builder can still correct concerns efficiently – before a small defect turns into a costly repair or warranty dispute.
Phased inspections are not a replacement for your builder’s quality-control process or municipal code inspections. They are an added layer of protection for your investment. A qualified independent inspector evaluates the work from the buyer’s perspective, documents visible concerns, and helps you understand what needs attention before construction moves forward.
What Phased Inspections Cover
A phased inspection plan follows the construction sequence rather than waiting for the final walkthrough. The exact schedule depends on your builder’s process, permit requirements, and the home’s complexity, but most new construction plans include three key stages: foundation, pre-drywall, and final inspection.
Each stage reveals different systems. The foundation inspection focuses on the base of the home before it is concealed. The pre-drywall inspection reviews framing, rough electrical, plumbing, HVAC, and other accessible components. The final inspection evaluates the completed home’s visible condition, major systems, safety features, and functional components.
For many Central Ohio buyers, this is the difference between receiving a beautiful-looking house and receiving a house that has been examined at the moments when repairs are most practical.
Start Planning Before Construction Begins
The best time to schedule phased inspections is when you sign your construction contract or immediately after. Do not wait until the builder gives you a closing date. By then, the foundation and pre-drywall stages may already be complete.
Review your purchase agreement and ask the builder how they handle third-party inspections. Reputable builders commonly allow them, though they may require advance notice, proof of licensing or insurance, or coordination through the site superintendent. Some communities and developments also have site-access rules that affect when an inspector may enter.
Ask for the projected construction schedule, but treat it as a working document rather than a fixed calendar. Weather, material availability, subcontractor scheduling, inspections, and change orders can move dates quickly. Your goal is not to reserve three arbitrary days months in advance. Your goal is to establish clear trigger points with the builder and inspection company.
A practical request sounds like this: notify us when the foundation is ready for inspection, when rough systems are complete and before insulation or drywall, and when the home is substantially complete before the final walkthrough. This creates a shared expectation early and reduces last-minute scheduling pressure.
Schedule the Foundation Inspection at the Right Time
A foundation inspection is generally performed after the foundation walls, footings, slab, drainage components, and related visible elements are in place, but before backfill or subsequent construction hides important areas. The right timing varies by home design. A slab-on-grade home has different visible conditions than a home with a basement or crawl space.
At this stage, an inspector may evaluate visible foundation walls, cracking, drainage provisions, waterproofing or dampproofing where accessible, anchor bolts, sill plate connections, and signs that water management details need closer attention. The inspection can also identify obvious workmanship concerns before framing begins.
This phase is particularly valuable in Central Ohio, where wet weather and variable soil conditions can put extra focus on drainage and moisture control. An inspector cannot predict future settlement or see behind every finished surface, but documented observations at this point establish a valuable record of the home’s earliest structural work.
Do not schedule this inspection simply because concrete was poured. Confirm that the applicable work is complete and still accessible. If backfill has already occurred, the inspection can still provide useful information, but the scope will be more limited.
Plan the Pre-Drywall Inspection Around Access
The pre-drywall inspection is often the most valuable phase because it provides access to systems that will soon disappear behind insulation and wallboard. Schedule it after framing and rough-in work are substantially complete, including electrical wiring, plumbing supply and drain lines, HVAC ducts and equipment connections, and low-voltage wiring where applicable.
It must happen before insulation and drywall installation. Even a one-day delay can make a major difference. Once insulation is installed, wiring routes, plumbing penetrations, framing details, and duct connections may be difficult or impossible to evaluate fully.
During this phase, an inspector typically reviews accessible framing, roof structure, wall and floor connections, rough plumbing, visible wiring, electrical boxes, HVAC ductwork, venting paths, fire-blocking, and areas where penetrations need appropriate sealing. This is also the stage to look closely for damaged framing members, incomplete supports, improperly placed fasteners, missing protective plates, or installation details that may affect performance or safety.
The purpose is not to create conflict over every cosmetic imperfection. Construction is an active process, and some items may be incomplete but scheduled for correction. A good report distinguishes between work that is still underway, conditions that need builder review, and concerns that should be addressed before the walls are closed.
Give the Builder Time to Respond
Send the report promptly to the builder or site superintendent and ask for a written response or confirmation of the repair plan. Same-day reporting matters here because the construction window can be short.
Avoid assuming that every item must be repaired exactly as you describe it. Builders may have approved methods, manufacturer requirements, engineering details, or code interpretations that affect the correction. What matters is that the concern is addressed properly, documented, and verified when appropriate.
For significant findings, request a reinspection before insulation or drywall goes up. For smaller items, clear photos and written confirmation may be sufficient. It depends on the issue, its location, and whether the corrective work will remain visible.
Use the Final Inspection as a Systems Check
The final inspection should occur when the home is substantially complete, utilities are on, and the major systems can operate. Ideally, schedule it several days before your builder walkthrough and well before closing. That gives the builder time to review the report without forcing everyone into a rushed closing-week decision.
A final inspection looks at the completed property as a home rather than an active job site. The inspector evaluates readily accessible structural components, roofing, exterior surfaces, interior rooms, doors and windows, electrical fixtures and outlets, plumbing fixtures, heating and cooling operation, ventilation, safety features, and installed appliances that are available for testing.
This phase also catches issues that could not be evaluated earlier, such as improper drainage around the finished grade, roof or siding defects, incomplete caulking, malfunctioning fixtures, reversed polarity at outlets, leaks at plumbing connections, or HVAC performance concerns. Thermal imaging and gas leak detection can add useful diagnostic value when conditions allow, helping identify temperature irregularities, moisture indications, or gas-related concerns that are not obvious during a visual review.
A final inspection is not the same as your personal orientation. During the builder walkthrough, learn how to operate equipment, locate shutoffs, review maintenance requirements, and document cosmetic punch-list items. Your independent inspection report provides a technical reference so you can ask stronger questions during that conversation.
Build a Communication Plan, Not Just a Calendar
Phased inspections work best when every party knows who is responsible for the next step. Keep your builder contact, inspection company, real estate agent, and lender informed of projected milestones. Confirm appointments by email or text, retain inspection reports and photos in one folder, and track whether each reported item has been resolved.
If construction moves faster than expected, prioritize the pre-drywall appointment. It usually offers the broadest view of concealed systems. If you must choose between an earlier inspection and a later final inspection, the answer depends on what has already been completed and what you can still access. Whenever possible, plan for both.
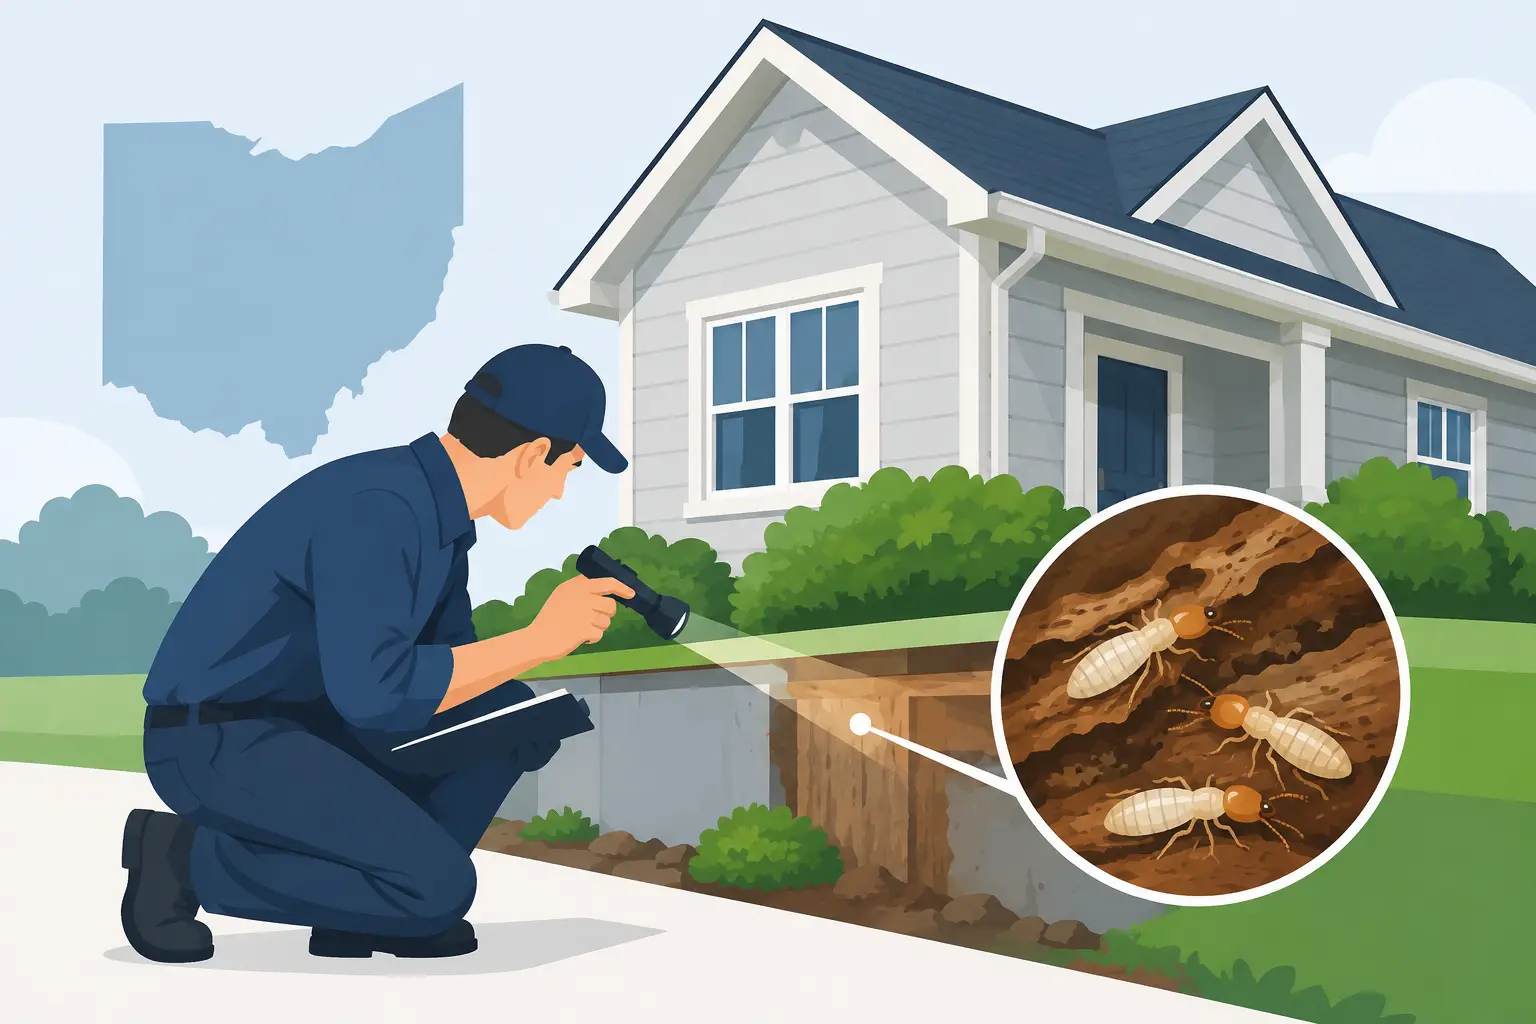
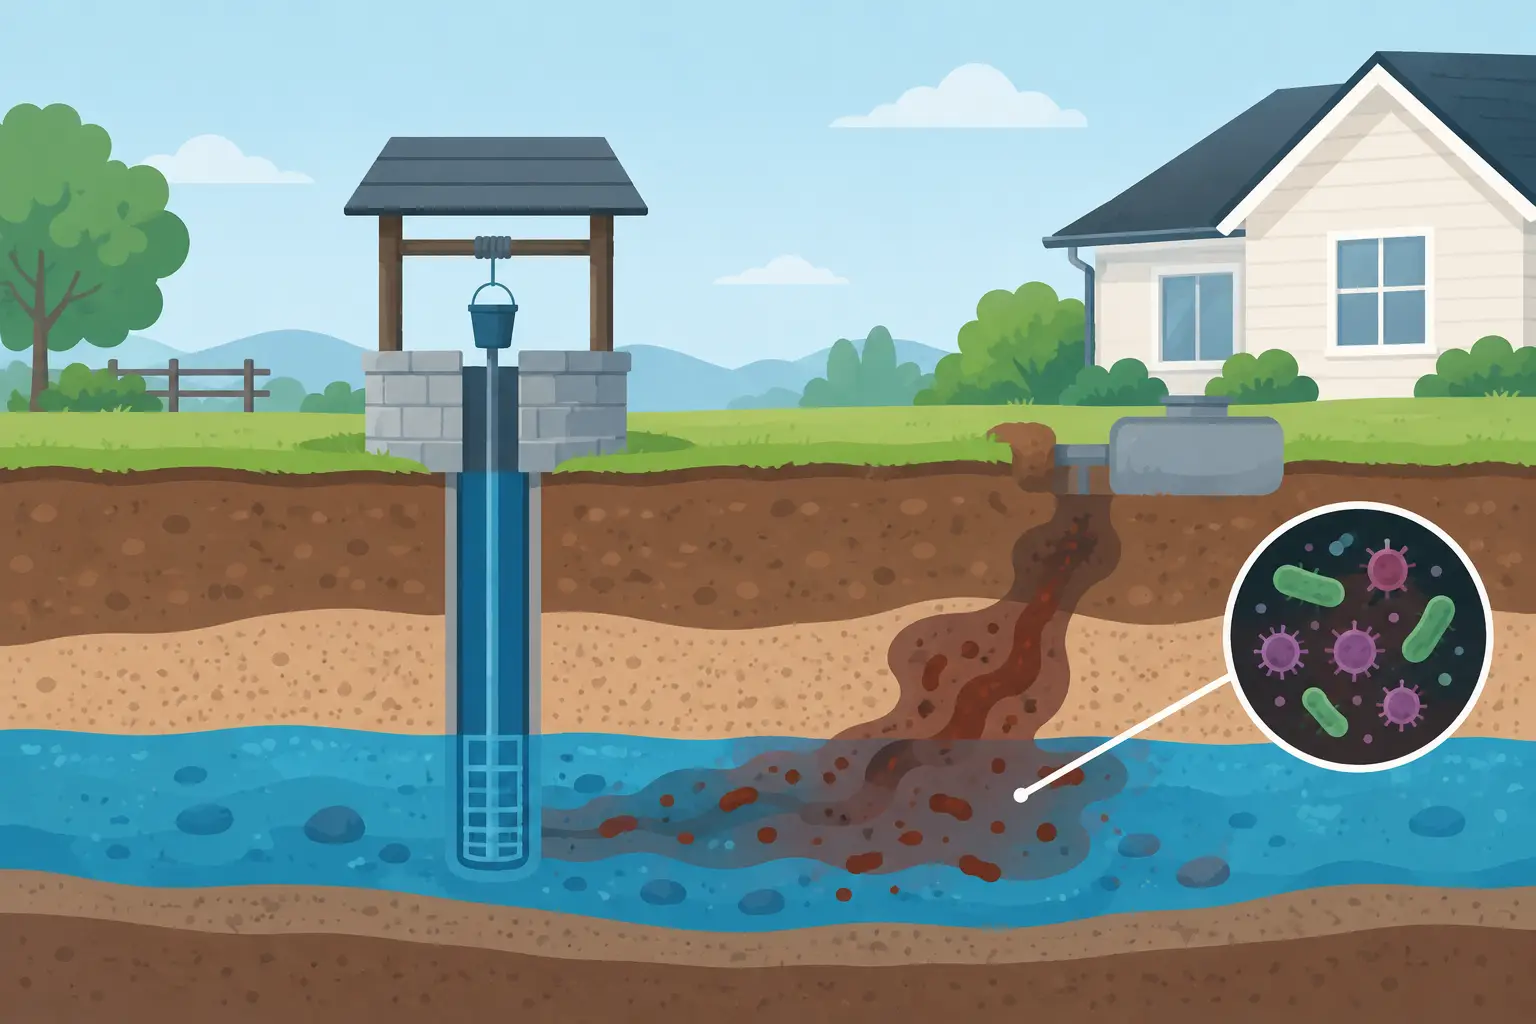
You should also leave room for specialized testing when the property calls for it. Radon testing, sewer camera scopes, water-quality testing for private wells, termite inspections, pool inspections, and fireplace inspections may not apply to every new home. They can be worthwhile when the property’s features, location, or construction conditions create a specific concern.
What to Bring to Each Inspection Conversation
Your contract, upgrade selections, floor plan, and any construction specifications can help the inspector understand what is expected. If the builder has provided a construction schedule, share it. Photos from earlier stages can also be useful, particularly when a concern was visible before a later trade covered it.
During the inspection, attend if your schedule allows. You do not need construction expertise to benefit from the conversation. Ask which findings require immediate builder attention, which items should be monitored, and which conditions can be confirmed during the final inspection. Education is part of a quality inspection service because a report only helps when you understand how to use it.
Keep records of reports, builder responses, repair confirmations, and warranty documents in one place. These records can be valuable at the 11-month warranty inspection, when you can identify issues that developed after occupancy but before the builder’s warranty period ends.
Don’t Skip the 11-Month Warranty Inspection
Many new homes come with a one-year builder warranty. Schedule an 11-month warranty inspection before that coverage expires, not after you notice a problem. By this point, you have lived through changing seasons, used the plumbing and HVAC systems, and had time to observe doors, flooring, drainage, and other components under normal use.
Bring your own list of concerns, then pair it with an independent inspection. New conditions can appear as materials dry, settle, expand, contract, and experience regular use. A detailed report gives you a clear basis for submitting warranty requests before the deadline.
At Flinn Inspection Group, the focus is simple: inspect the home at the points where information protects your investment most. A properly timed phased plan gives you more than a checklist. It gives you the confidence to move into a new home knowing the work was reviewed before the evidence disappeared behind finished walls.